jiffy seed starting greenhouse kit instructions
Summary
Easily set up your Jiffy Seed Starting Greenhouse Kit with our step-by-step guide. Ideal for home gardeners!
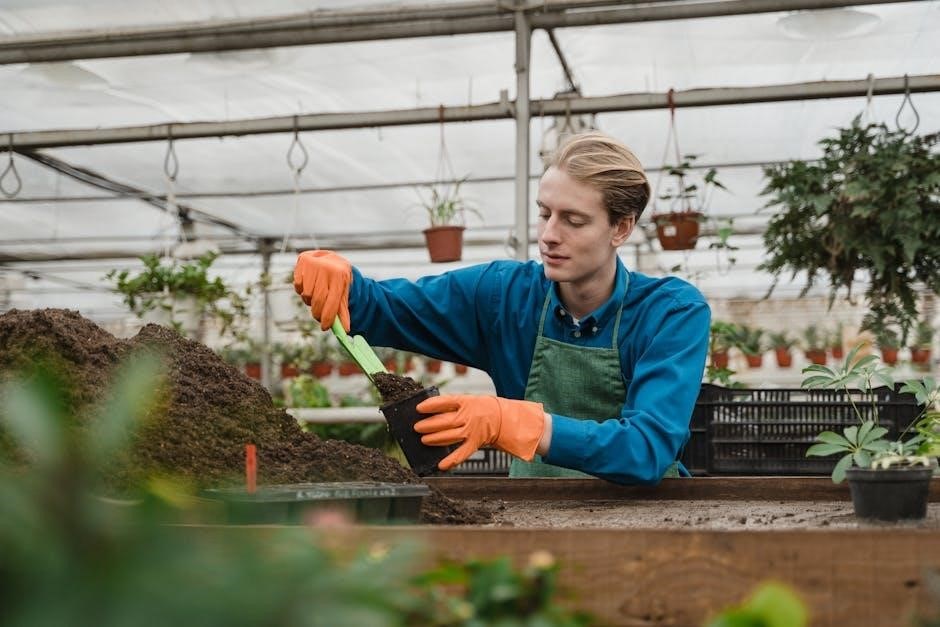
Jiffy Seed Starting Greenhouse Kits offer a convenient and effective way to start seeds indoors. They include biodegradable peat pellets‚ a humidity dome‚ and a watertight tray. This system promotes healthy root development‚ consistent germination‚ and minimizes transplant shock. Perfect for gardeners of all skill levels‚ Jiffy kits simplify the seed-starting process‚ ensuring strong seedlings ready for outdoor transplantation.
Overview of the Jiffy Greenhouse Kit
The Jiffy Greenhouse Kit is a self-contained seed-starting system designed for indoor use. It typically includes biodegradable peat pellets‚ a humidity dome‚ and a watertight tray. The peat pellets expand when soaked in water‚ creating a nutrient-rich soil substitute for seed germination. The humidity dome helps maintain consistent moisture and warmth‚ while the tray collects excess water. Kits vary in size‚ offering options like 12‚ 36‚ or 72 cells‚ making them suitable for small or large gardening projects. The biodegradable nature of the peat pellets allows for easy transplantation‚ reducing root disturbance. This system is ideal for starting tomatoes‚ vegetables‚ and flowers‚ ensuring healthy seedlings before moving them outdoors.
Benefits of Using Jiffy for Seed Starting
Using Jiffy for seed starting offers numerous advantages‚ making it a popular choice among gardeners. The biodegradable peat pellets eliminate the need for potting soil‚ reducing mess and transplant shock. The included humidity dome ensures optimal moisture and warmth‚ promoting consistent germination. The compact design allows for space-efficient indoor growing‚ perfect for small areas. Jiffy kits are versatile‚ suitable for starting a wide variety of plants‚ including tomatoes‚ vegetables‚ and flowers. They are also ideal for gardeners of all skill levels‚ providing a user-friendly system that simplifies the seed-starting process. Additionally‚ the biodegradable nature of the pellets supports eco-friendly gardening practices‚ making Jiffy kits a sustainable option for growers.

Preparing the Jiffy Greenhouse Kit
Unpack the kit‚ ensuring all components are included. Soak the peat pellets in warm water until fully expanded. Prepare the watertight tray for planting.
Unpacking and Understanding the Components
Begin by carefully unpacking the Jiffy Greenhouse Kit. The kit typically includes biodegradable peat pellets‚ a humidity dome‚ and a watertight tray. Each component plays a crucial role in the seed-starting process. The peat pellets are designed to expand when soaked‚ creating a nutrient-rich medium for seed germination. The humidity dome helps maintain consistent moisture levels‚ promoting healthy growth. The watertight tray acts as a base‚ preventing water from spilling and ensuring the pellets absorb moisture evenly. Some kits may also include a bonus plant vitamin to support seedling development. Understanding these components is essential for proper setup and optimal results.

Soaking the Peat Pellets
To prepare the Jiffy peat pellets‚ place them in the watertight tray and add warm water. Allow them to soak until they expand to 7 times their original size‚ which typically takes about 10-15 minutes. Once expanded‚ pour off any excess water‚ ensuring the pellets are saturated but not waterlogged. This step is crucial as it softens the netting and creates a moist environment for seed germination. Proper soaking ensures the pellets are ready for sowing seeds‚ providing the necessary structure and nutrients for the developing roots. Avoid overwatering to prevent mold and maintain air circulation within the medium. The pellets should be damp but not dripping with water before adding seeds.
Expanding the Peat Pellets
After soaking‚ the Jiffy peat pellets will expand significantly‚ typically growing to 7 times their original size. Once expanded‚ they should be damp but not waterlogged. Gently pour off any excess water to ensure proper drainage and prevent mold. The expanded pellets provide a perfect medium for seed germination‚ offering both moisture retention and aeration. It’s important to avoid over-saturation‚ as this can hinder root development. The pellets should be soft and spongy‚ ready to receive seeds. Proper expansion ensures the seeds have the ideal environment to begin growing. This step is crucial for successful germination and healthy seedling development.
Starting Seeds in the Jiffy Greenhouse
Place seeds in the expanded peat pellets‚ following package instructions. Cover seeds lightly and set the greenhouse dome to maintain humidity for optimal germination conditions.
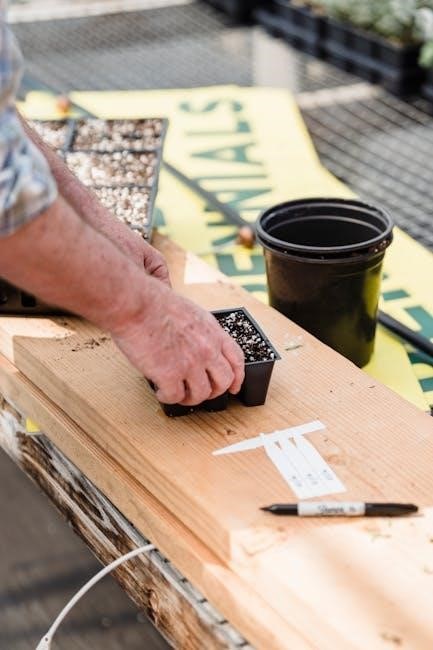
Adding Seeds to the Peat Pellets
After the peat pellets have expanded‚ carefully place one or two seeds in the center of each pellet‚ depending on the seed size and instructions. Cover seeds lightly with the peat mixture to ensure proper contact and darkness. Avoid overfilling‚ as this can inhibit germination. Use the seed packet instructions for depth guidance. Once seeds are added‚ gently firm the peat to secure them in place. Ensure the tray is level to prevent uneven distribution of water. After sowing‚ place the greenhouse dome to maintain humidity and warmth‚ creating ideal conditions for germination. Proper placement and covering of seeds are critical for successful germination and healthy seedling development.
Setting Up the Greenhouse Dome
Once seeds are placed in the peat pellets‚ position the greenhouse dome over the tray to create a humid microclimate. Ensure the dome fits securely to prevent air leaks‚ maintaining consistent humidity and temperature. The dome’s transparent material allows light to reach the seeds while retaining warmth. After setup‚ place the greenhouse in a warm location‚ such as a windowsill or under grow lights‚ avoiding direct sunlight to prevent overheating. The dome will help regulate moisture‚ reducing the need for frequent watering. Proper positioning ensures optimal conditions for seed germination‚ promoting healthy growth and minimizing the risk of damping off or poor germination rates.
Watering and Humidity Management
Proper watering and humidity management are crucial for successful seed germination. After soaking the peat pellets‚ place them in the watertight tray and add warm water until the pellets expand fully. Once seeds are sown‚ position the greenhouse dome to maintain humidity. Check moisture levels daily; if the pellets feel dry‚ add a small amount of water to the tray. Avoid overwatering‚ as this can lead to mold and poor germination. The dome should remain closed until seeds germinate‚ then gradually open it to acclimate seedlings to drier conditions. This balanced approach ensures optimal humidity and prevents moisture-related issues.
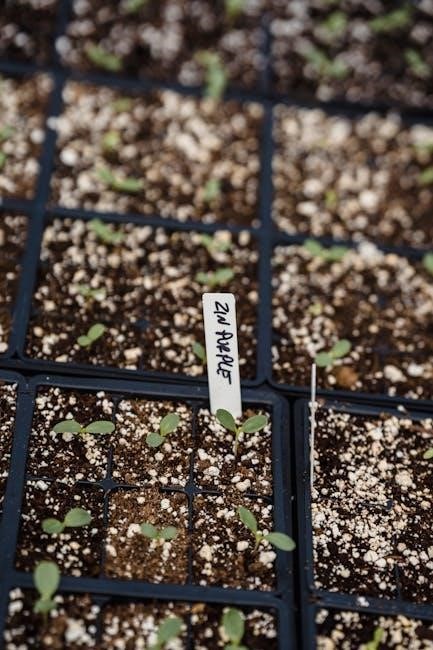
Germination Process
The germination process begins with maintaining consistent temperatures and humidity. Seeds typically germinate within 1-3 weeks. Monitor for sprouts and gradually open the dome post-germination.
Maintaining Temperature for Germination
Maintaining the right temperature is crucial for successful germination with Jiffy Greenhouse Kits. Most seeds germinate best in temperatures between 70°F and 80°F (21°C to 27°C). Placing the kit on a heating mat can help maintain consistent warmth‚ especially for cold-sensitive varieties. Avoid placing the greenhouse near drafts or extreme cold‚ as this can slow or prevent germination. Once seeds germinate‚ reduce the temperature slightly to promote healthy root development. Monitoring temperature closely ensures optimal conditions for seedlings to thrive before moving them to outdoor conditions.
Monitoring Seedlings and Opening the Dome
Once seeds germinate‚ monitor seedlings daily for signs of growth. Keep the humidity dome in place until the first true leaves appear. Gradually prop the dome open to acclimate seedlings to lower humidity. Start by opening it slightly for a few hours‚ then increase the duration over several days. Once seedlings are robust‚ remove the dome entirely. Ensure good airflow to prevent fungal issues. Direct light exposure should follow‚ supporting healthy growth. Avoid overwatering during this transition‚ as seedlings are sensitive. Proper monitoring and dome management ensure strong‚ healthy seedlings ready for transplantation.
Providing Light After Germination
After germination‚ seedlings require adequate light to grow strong and healthy. Place the Jiffy Greenhouse in a sunny location‚ such as a south-facing window‚ to ensure proper light exposure; If natural light is insufficient‚ consider using grow lights. Position the light 6-8 inches above the seedlings and maintain a 12-16 hour light cycle. Avoid direct sunlight‚ as it may overheat the greenhouse. Monitor seedlings for signs of stress‚ such as leaf scorch or stretching‚ and adjust the light source accordingly. Consistent light exposure promotes even growth and prepares seedlings for outdoor conditions. Ensure the light source is not too close to prevent burning the delicate leaves.
Transitioning Seedlings to Outdoor Conditions
Transitioning seedlings to outdoor conditions involves removing the greenhouse dome and gradually exposing them to natural light and temperature. Start with shade‚ then increase exposure. This ensures a smooth acclimatization process and healthy growth.
Removing the Greenhouse Dome
Once seedlings have germinated and grown their first true leaves‚ it’s time to remove the greenhouse dome. Start by propping the lid open slightly to allow fresh air to circulate and gradually acclimate the seedlings to outdoor conditions. After a few days‚ remove the dome completely to ensure proper airflow and prevent overheating. This step is crucial for promoting healthy growth and preventing moisture buildup‚ which can lead to mold or mildew. Ensure the seedlings are in a sunny location but protected from direct sunlight until they are fully acclimated. Regular watering is still necessary‚ but avoid overwatering to maintain optimal soil moisture levels.
Hardening Off Seedlings
Hardening off seedlings is a critical step before moving them outdoors permanently. Begin by placing the seedlings in a shaded‚ sheltered area for 1-2 hours daily‚ gradually increasing exposure to sunlight and wind over 7-10 days. Avoid direct sunlight‚ especially during peak hours‚ to prevent scorching. Start with partial shade and slowly introduce full sun as the seedlings acclimate. Keep the soil consistently moist but not soggy during this process. Monitor for signs of stress‚ such as wilting or discoloration‚ and adjust the exposure time if necessary. This gradual acclimation ensures seedlings develop resilience to outdoor conditions‚ reducing transplant shock and promoting healthy growth.
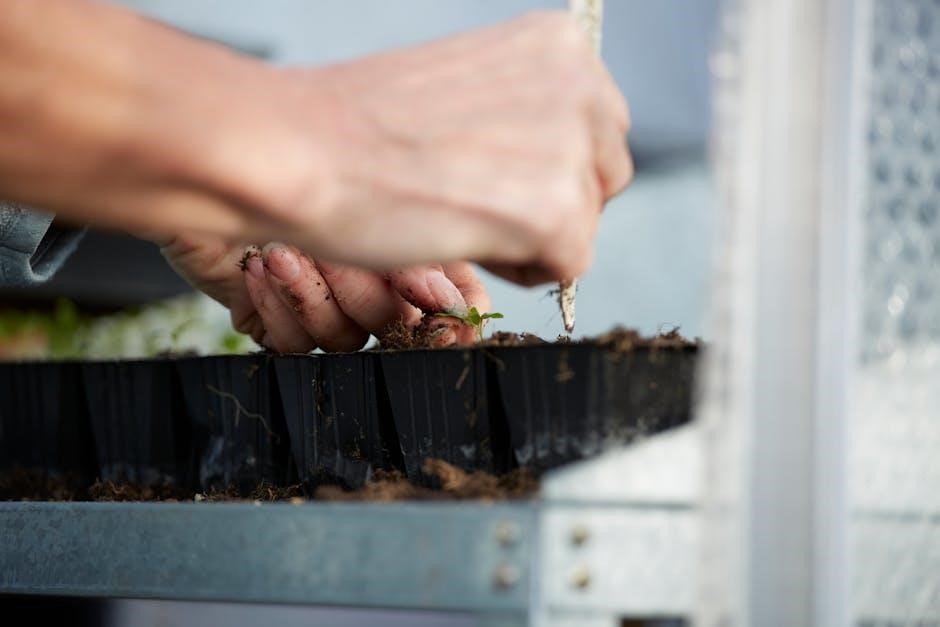
Transplanting Seedlings into Larger Containers
Once seedlings have developed strong root systems and are hardened off‚ they are ready for transplantation. Carefully remove the biodegradable peat pellet from the Jiffy tray‚ taking care not to damage the roots. Dig a hole in the larger container that is twice the size of the peat pellet‚ ensuring proper drainage by using a well-draining potting mix. Place the pellet in the hole‚ gently firming the soil around it. Water thoroughly to settle the soil and provide adequate moisture. If desired‚ a heating mat or grow light can be used to support continued growth; This step ensures a smooth transition to larger containers‚ promoting robust plant development.